Looking for the best tips on how to start a WordPress blog? Here’s how.

When I first started blogging, I tried different things.
I experimented with Squarespace, Blogger.com, WordPress.com, and even Medium. Each one had its strengths, but none gave me the flexibility, control, and long-term growth potential I was looking for.
That’s when I discovered WordPress.org—and I’ve never looked back.
It’s not just me, either. WordPress.org powers over 40% of all websites on the internet, making it the most popular content management system (CMS) in the world. Whether you want to blog for fun, grow an audience, or even turn your site into a business, WordPress.org is the platform that can take you there.
If you’re ready to start your own blog, here’s the step-by-step guide to setting up a beautiful and functional WordPress site.
What Is WordPress?
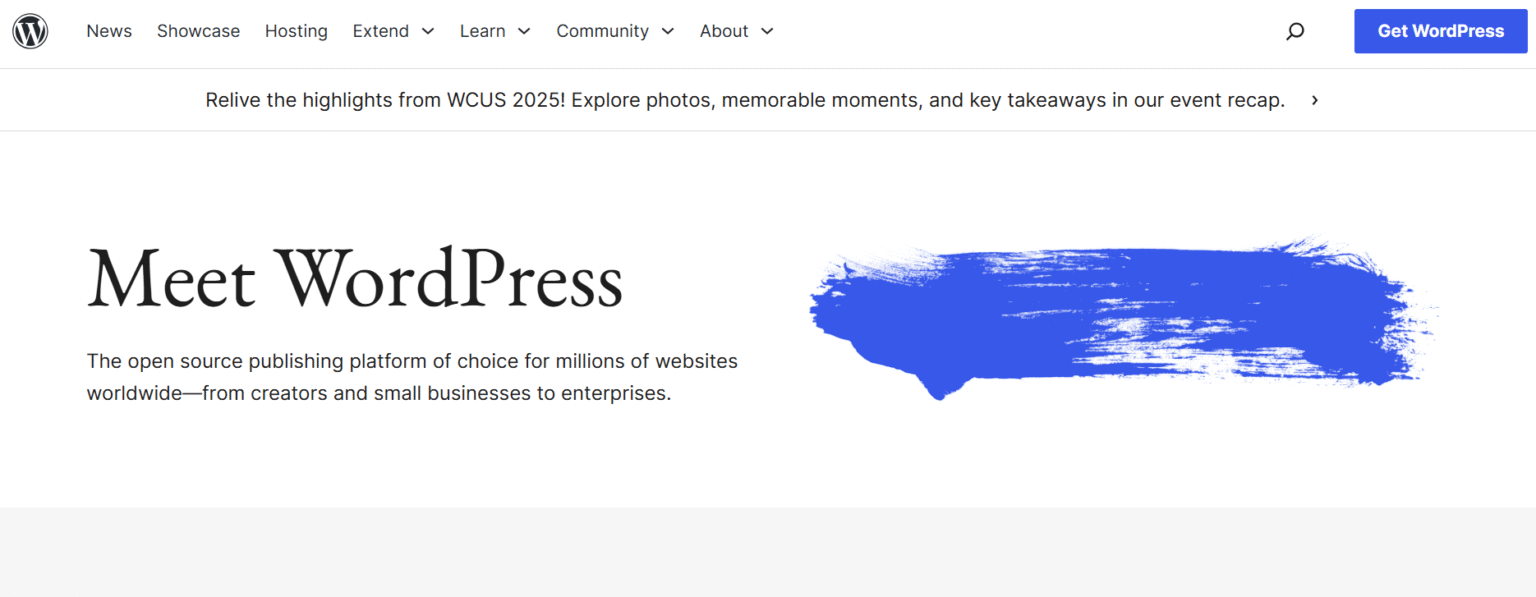
WordPress(.org) is a content management system (CMS) that allows you to create, design, and publish your website without needing advanced technical skills.
There are two versions of WordPress:
WordPress.com → A hosted service to create and host your site. You start with a brand.wordpress.com domain until you pay for a premium plan.
WordPress.org → The self-hosted version, where you own your site 100%. You’ll need to buy hosting and a domain, but you’ll have unlimited flexibility, control, and monetization options.
For this guide, we’re focusing on WordPress.org, because that’s the version professional bloggers, entrepreneurs, and businesses use.
Why Choose WordPress Over Squarespace, Wix, or Showit?
There are plenty of CMS out there. Squarespace, WordPress.org, Wix, and Showit are some of the most popular alternatives. I’ve tried some of them, but here’s why I recommend WordPress.org every single time:
1. Flexibility & Control
WordPress.org: If you want to grow beyond the basics, WordPress gives you total freedom. You can customize literally everything—from design to functionality—with themes and plugins.
Squarespace/Wix/Showit: You’re limited to their built-in tools and features.
2. Ownership
WordPress.org: You own your site and content fully. You’re not “renting space” on someone else’s platform.
Squarespace/Wix/Showit: Website ownership is partial. If they shut down or change their rules, your site and data could be at risk.
3. Monetization
WordPress.org: Use this if making money through blogging is a part of your plan. You can monetize however you want—ads, affiliate links, products, memberships, or digital downloads.
Squarespace/Wix/Showit: Limited ad networks and stricter rules.
4. Scalability
WordPress.org: Perfect for beginners but also grows with you. Some of the world’s biggest websites run on WordPress.
Squarespace/Wix/Showit: Great for small, simple sites, but they struggle with complex needs as you grow.
If you’re looking for long-term growth and the ability to turn your blog into a business, use WordPress.org.
How to Start a WordPress Blog
Ready to start a blog on WordPress? Here’s everything you need to do, step by step.
1. Choose Your Blog Niche
Before we touch anything technical, you need to decide what your blog is about. This is called your niche. Think of it as your blog’s main topic or theme.
The purpose of a niche isn’t to restrict you. It’s to help you categorize your content so you can come up with more “related ideas” and quickly attract an audience for that topic.
You can slowly expand your niche as you grow. Don’t restrict yourself. Just start with something you’re genuinely passionate about and evolve your topics over time. Take this from a multi-passionate individual who got bored sticking with a niche (me!).
Here are some of the best blogging niches and ideas to inspire you:
- Lifestyle & personal growth – journaling, self-care, routines
- Food & recipes – baking, family meals, healthy eating
- Finance & business – saving money, side hustles, entrepreneurship
2. Get a Domain Name and Hosting
Your blog needs two things to exist:
- Domain name → your blog’s address on the internet (e.g., yourblogname.com).
- Hosting → the space on the internet that stores your blog and makes it accessible to the world.
When you sign up with them, you can register your domain name and get hosting at the same time—no juggling multiple accounts.
When choosing a domain name, keep it short and memorable and avoid numbers or hyphens. You can choose other popular domain extensions besides “.com,” like .blog, .ai, .info, and .io, although the .com extension is the most popular.
For the best domain names, get yours from Namecheap. For a reliable hosting experience, check out my Lyrical Host and BigScoot reviews to see why they’re the two best options for bloggers.
It’s better to purchase your domain and hosting from different companies for an extra layer of security.
3. Set Up Your WordPress Site and Theme
Most hosts offer a 1-click WordPress installation. This means you don’t need to worry about complicated coding. Your WordPress site will be live within minutes.
Once WordPress is installed, you’ll log in to your dashboard by going to: yourdomain.com/wp-admin.
This is your control center for everything—writing posts, uploading photos, installing plugins, and customizing your design.
To design your blog, choose a pretty and user-friendly template. Your theme sets the tone for your brand. Readers should be able to easily navigate, read, and enjoy your content. A cluttered or outdated design can push people away—even if your writing is amazing.
The best WordPress website templates are stunning, easy to customize, and browseable even if you don’t know a lick of code.
This is why I always recommend 17th Avenue Designs’ website templates. I’m currently using their Vivienne theme, and I can’t tell you how much I love the clean, modern look it gives this blog.
4. Add Essential Plugins
Think of plugins as apps for your blog. They add extra features and functionality without you needing to code anything.
Here are a few must-have WordPress plugins for bloggers:
- Rank Math → helps you optimize posts for search engines so readers can find you on Google and connects your site with Analytics & Search Console to track traffic.
- UpdraftPlus → automatically backs up your blog so you don’t lose everything if something goes wrong.
- Broken Link Checker → finds broken links so you can fix them and prevent 404 errors.
Later, as you grow, you can add more plugins for things like social sharing, email list building, or e-commerce store setup.
Step 5: Create Must-Have Blog Pages
Before you publish your first post, set up the foundational pages every blog needs:
About Page → Tell your story. Share who you are, why you started blogging, and what readers can expect.
Contact Page → Make it easy for readers (and potential collaborators) to reach you. A simple form works perfectly.
Privacy Policy & Disclaimer → Important for legal reasons, especially if you plan to monetize. (Lyrical Host provides free templates, or you can use a free privacy policy generator from Termly.)
These pages help establish trust and professionalism from day one.
Step 6: Publish Your First Blog Posts
This is the exciting part—actually blogging!
Brainstorm or research 15 topic ideas for posts in your niche so new readers have something to explore right away. If you’re stuck for ideas, here are some ways to find content ideas readers love.
Examples:
- If you’re in lifestyle → “10 Morning Routine Habits That Changed My Life”
- If you’re in food → “5 Quick Weeknight Dinners for Busy Moms”
- If you’re in travel → “How to Plan a Weekend Trip on a Budget”
Don’t overthink it. Your first posts don’t have to be perfect. Focus on being helpful, authentic, and consistent. You’ll improve with every post you publish.
Check out this list of 10 things to do before you hit publish.
In Summary: How to Start a WordPress Blog
Starting a WordPress blog doesn’t have to be overwhelming. Yes, there are a lot of moving parts—domain names, hosting, themes, plugins—but take it step by step and it all falls into place.
So, go ahead and take that first step. Set up your site, hit publish, and start blogging
